![[New] In 2024, Eye-Opening List of the Top 12 YT Gamers' Intros (Free/Paid Sessions)](https://thmb.techidaily.com/b65c1700fc3be6103fe73469bcdff9ebd5593034f3622d27aea03408c9719ceb.jpg)
"[New] In 2024, Eye-Opening List of the Top 12 YT Gamers' Intros (Free/Paid Sessions)"
Eye-Opening List of the Top 12 YT Gamers’ Intros (Free/Paid Sessions)
Best 12 YouTube Gaming Intro Makers - Free and Paid
 OtsAV DJ Pro
Richard Bennett
Mar 27, 2024• Proven solutions
When searching the words “intro maker”, thousands of results jump into your eyes, but only a few of them are suitable for YouTube gamers . Luckily, we did it for you. After 34 hours’ research and comparison, we finally rounded up the 12 best gaming intro makers, sorted by online and desktop solutions. Hopefully, these intro makers will help you convert more viewers to your subscribers like those noted YouTubers did.
Read on to know how to take your video to the next level with these gaming intro makers and templates.
You may also like: Top 10 Best Free Music and Sound Effect Resources for Games >>
- Part 1: 4 Best Desktop YouTube Gaming Intro Makers
- Part 2: 8 Best Online Intro Makers for YouTube Gaming
- Part 3: 3 Easiest Ways to Make a Gaming Intro
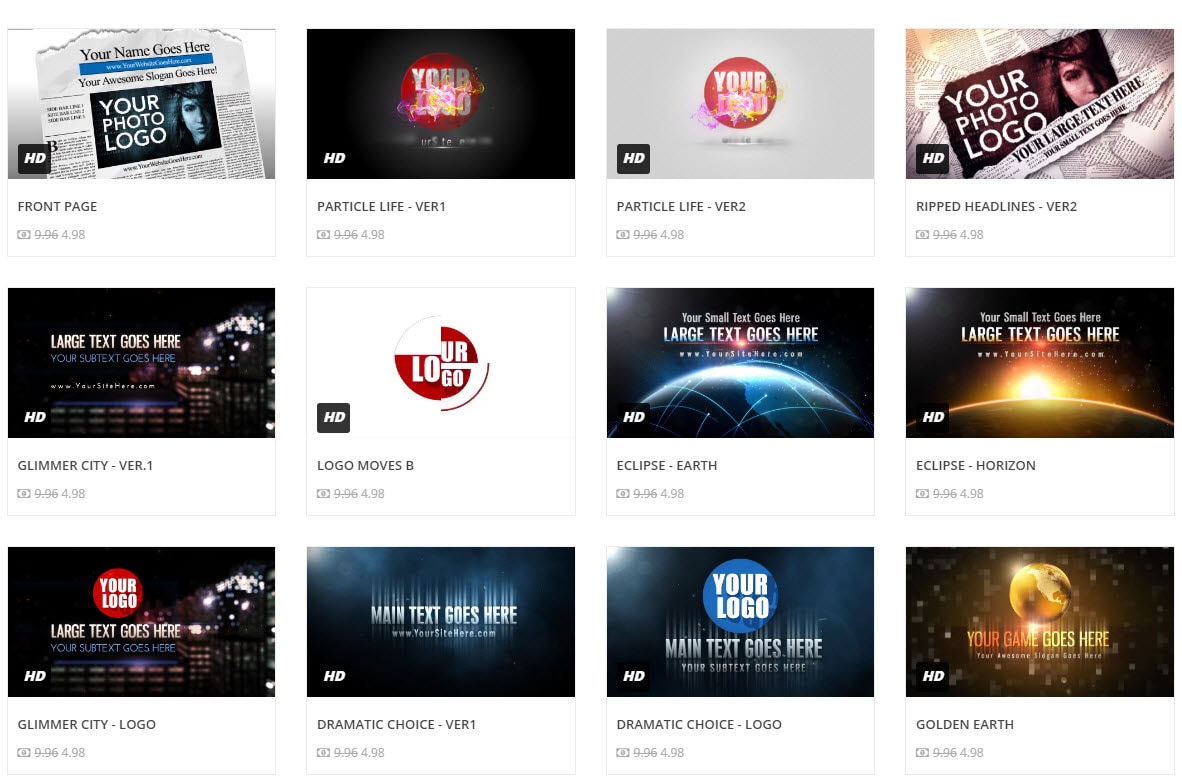
- Bonus: Best Intro Templates for YouTube Gamer
Wondershare Filmstock Gaming Video Editing Skils ](https://filmstock.wondershare.com/creative-theme-game?source%5Fchannel=seo%5Farticle&spm=rs.filmora%5Fweb )

Part 1: Best YouTube Intro Makers for Gaming [Desktop Software Solutions for Windows/Mac/Linux]
Before I recommend the YouTube Gaming Intro Makers, I want to share how we make a stunning YouTube intro, so that you can see in creating a video intro, which elements should be included. Check the video tutorial below to get some tips and tricks for making YouTube Intro.


Those who wish to have more control over their video editing needs are advised to pick desktop software solutions like Filmora and After Effects, and Blender, etc. They can serve the editing needs of beginners as well as professionals. So, in the first part, I’ll show you some of the best gaming intro makers for YouTube video, some of them are free to use, others may need to subscribe.
1. Wondershare Filmora: Freemium
Wondershare Filmora is a great tool that you can use to create a film-look YouTube video, including gaming video intros. What’s more, it offers you lots of pre-made intros with text and title animation, elements, overlays, effects, and transitions. Besides the inbuilt presets and templates for making gaming intro makers, you can find more video effects for gaming intro making in the Filmstock effects store . The 8 Bit Gamer and blockbuster effects are also perfect choices for making gaming intros. After finishing the editing, you can directly upload the video to YouTube from the program.

Download Mac Version ](https://tools.techidaily.com/wondershare/filmora/download/ )
You may also like: Best 3D Intro Makers for YouTube Videos
2. After Effects: ($19.99/month)
Editing YouTube gaming intro task becomes easier when you have Adobe Effects on your desktop computer. Most of the professionals love to access this platform due to its wide range of effects and presentation templates.
Now, if you are a member of Filmstock, you can download some Free After Effects Templates and use it in After Effects to make a stunning gaming intro without paying extra money.
3. Blender: (Free)
It is a well known open source and free of cost gaming intro maker that can process 3D pipelines with ease. It can easily handle processes like motion tracking, composition, rendering, simulation, animation, rigging and modeling etc. It may appear difficult for beginners to make a gaming intro with this free intro maker but professionals can definitely create wonders with this software tool.
4. Cinema 4D: $3510.5
This is a complete and complex software for 3D video animation, it’s developed by MAXON Computer GmbH in Germany, and it gives you almost all the power and control over 3D design and creation. It is very expensive ($3510.5) and complex, so if you just want a simple and quick intro, we don’t recommend this to you to make a simple gaming intro.
Part 2: Best YouTube Intro Makers for Gaming - Online solution
If you are a beginner, then you should go ahead with the online free gaming intro maker tools below. They have a wide range of pre-made templates and you can operate them with ease even without messing up with deep any technical details.
1. Panzoid(Free):

It is a well known online video editing software tool that also possesses abilities of background editor and can also generate quick clips to fulfill instant needs. As it is available for free and works online so beginners can easily switch to this editor anytime from anywhere using their handheld devices. This free to use software tool allows users to complete editing tasks with advanced 3D animations , but the only downside of this tool is its too many annoying ads.
You can find many tutorials about how to use Panzoid on YouTube if you have any questions.
2. Renderfx ($24.99 only):
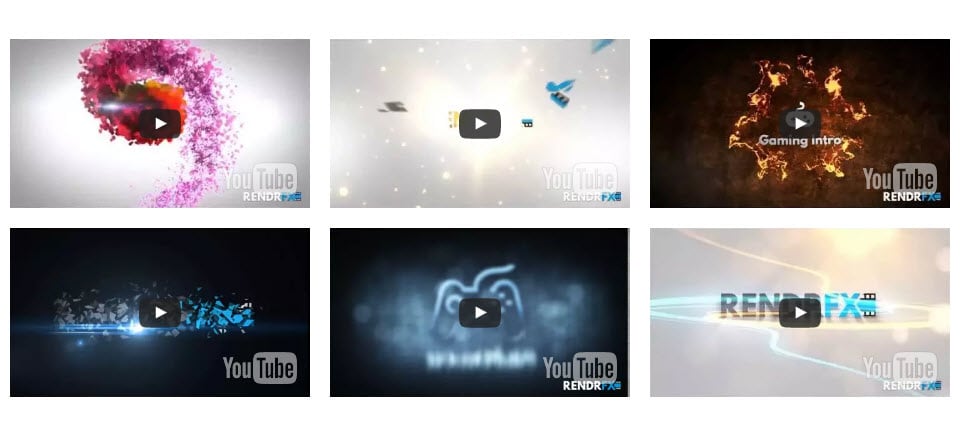
The high definition effect is the most beautiful part in my opinion. You would definitely love to have a professional class video editing solution for your YouTube gaming needs. Renderfx allows gamers to generate eye-catching videos for YouTube channel uploads; they can prepare presentations, outros, and intros over here.
3. Renderforest ($29.99/Export):
 DLNow Video Downloader
There are lots of interesting things to talk about Renderforest. It contains a wide range of video templates such as neon power logo, electromagnetic logo, neon lightroom, fly-in-fire logo, and many more. You can create various videos for free by utilizing all its advanced features, but in case if you want to expert your created video out without the watermark, then you have to pay $29.99 per export.
4. ivipid($1.99 to $34.99)
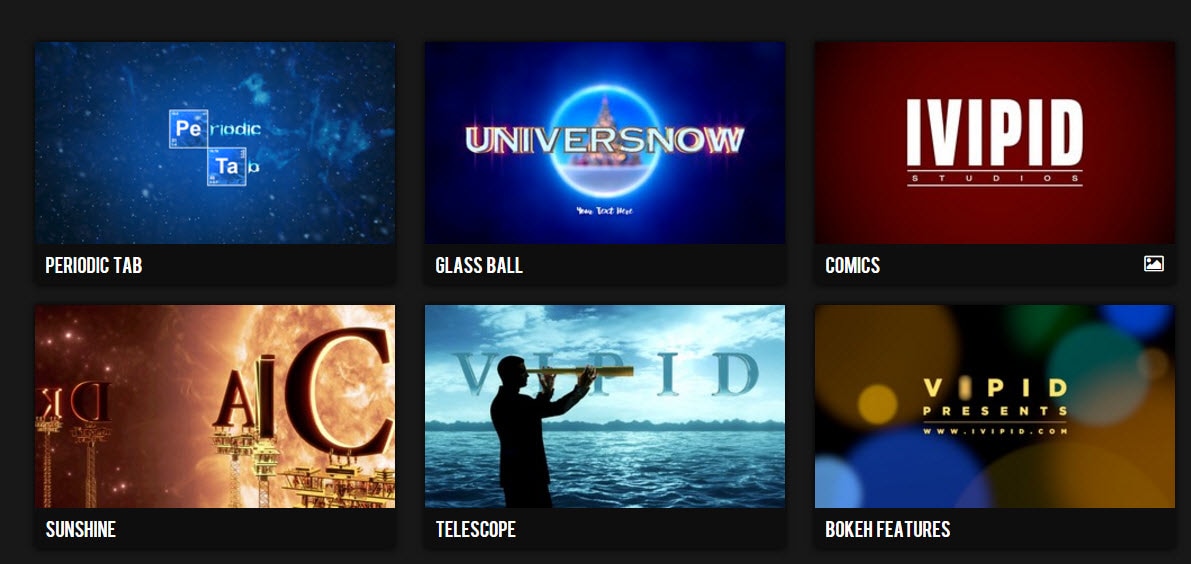If you are more focused on customization needs and want to create something unique for your next YouTube gaming video, then Lvipid.com is here to serve all your needs. There are unlimited stunning themes, including awesome animation cards and video intro personalization options. Note that you have to use credits to start producing a new video on this platform.
5. Moovly Studio: ($5 per Month)

Here is an advanced multimedia solution that is hosted over the cloud platform and assists users in developing promotional videos and animations with a few simple to follow steps. You can enjoy these services with payment of $5/month only.
6. Introchamp: ($5 per template)
As the name indicates, this online tool is master in the creation of video intros, so you need not apply additional efforts to get desired results. Simply pay amount $4.98 to $11.95 and collect all fantastic graphics, text options, and music to complete your task.
7. Intromaker: ($5 to $20 only)
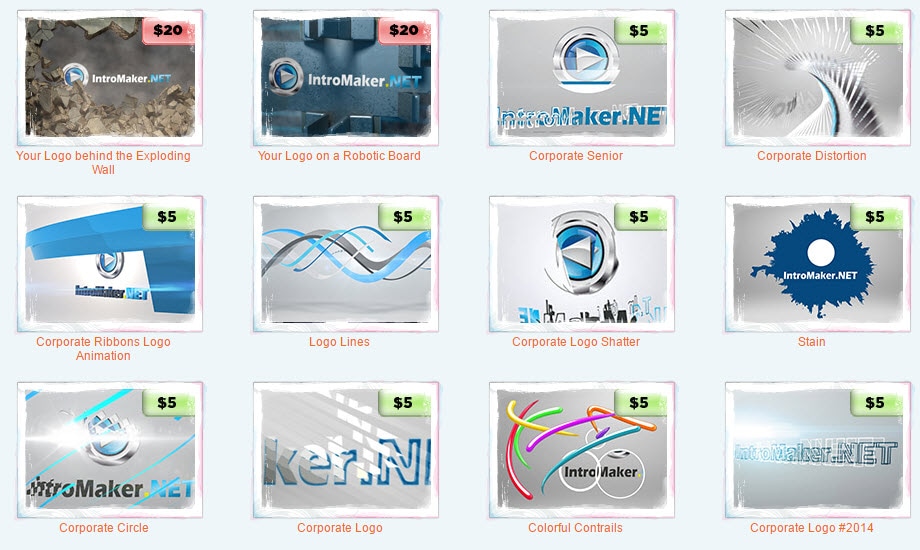
Its stunning designer wizard can assist you in logo designing; just upload your desired image with .jpg or .png extension and merge it into your video background to have impressive results. Its simple editing interface makes editing tasks much easier for beginners. One of the disadvantages is that you can’t preview the result before you finish the order.
8. Flixpress: ($49.44/month)
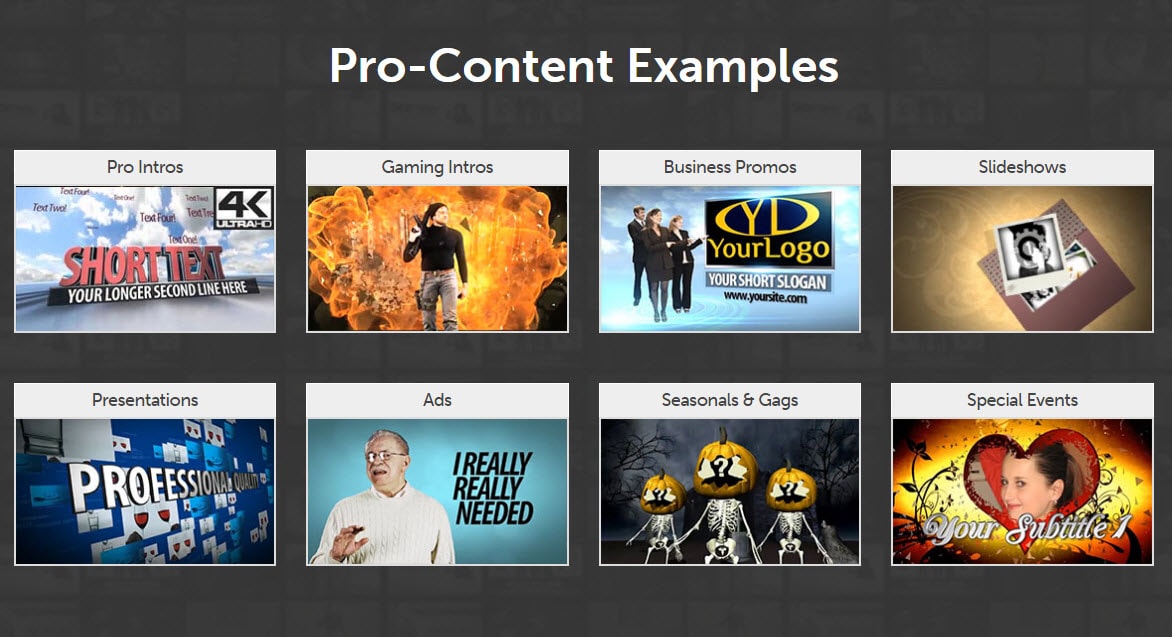
It provides a wide range of services like handling business promos, slideshows, ads, and YouTube Intros. It offers variable pricing plans so that beginners can start with free ones, and professionals can choose low-cost plans with ease. One can avail access to a full library with a payment of $49.44/month.
Part 3: 3 Easiest Ways to Make a Gaming Intro
If you’re new to YouTube video creation, here we introduce 3 easiest ways that can help you make fascinating gaming intros.
1. Using video intro makers
No matter you are a beginner or a professional, these intro makers offer you multiples options to make wonderful gaming intros from pre-made templates or from nothing.
2. Hiring freelancers
It is also possible to get professional assistance online from top platforms like Peopleperhour , Upwork , Fiverr and, Valoso etc. Those who are not able to find enough time to edit their game videos can hire a well experienced professional online. They charge an hourly basis or as per the work offered by you. They can complete the customization task on your behalf.
3. Taking use of pre-made intro templates
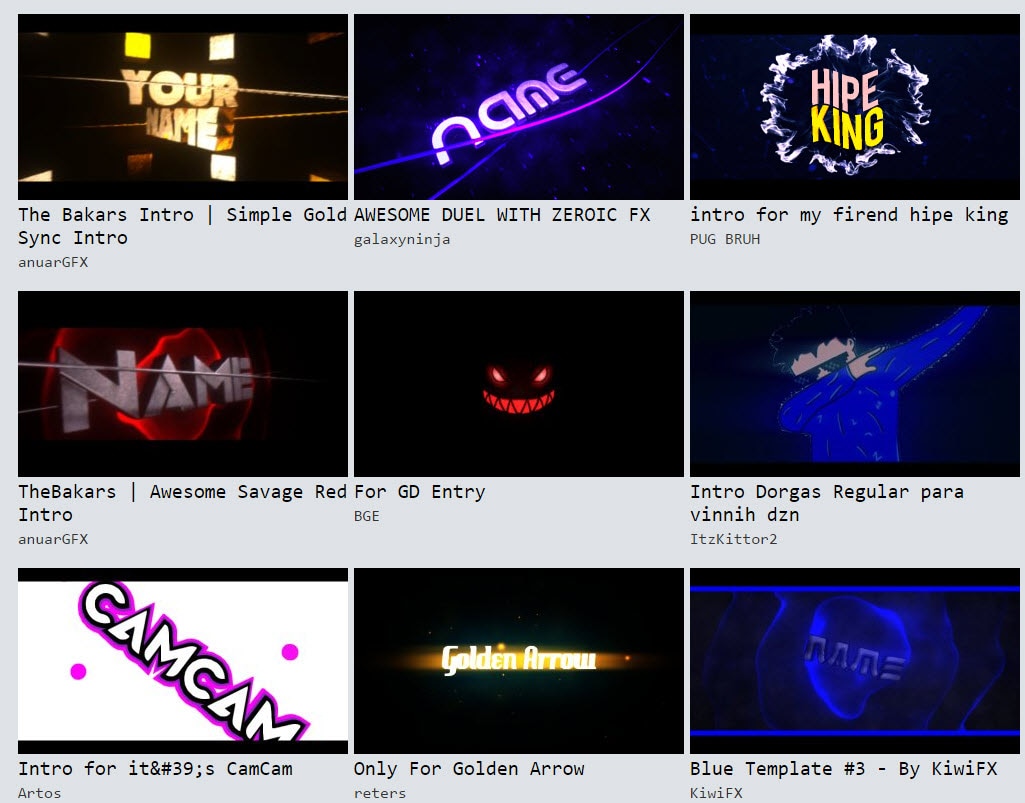
Some websites/YouTube channels over the Internet also offer attractive pre-made templates that are time-saving solutions and can definitely fulfill the purpose of excellent video intro. You can collect fantastic templates from sites like Editorsdepot, VideoBlocks, and Pushedtionsanity, etc.
Note: The intro part is needed to be very short; probably, a maximum of 5 seconds is sufficient to create the impact; otherwise, your audience will become impatient, and they will run away.

Key features:
• Import from any devices and cams, including GoPro and drones. All formats supported. Сurrently the only free video editor that allows users to export in a new H265/HEVC codec, something essential for those working with 4K and HD.
• Everything for hassle-free basic editing: cut, crop and merge files, add titles and favorite music
• Visual effects, advanced color correction and trendy Instagram-like filters
• All multimedia processing done from one app: video editing capabilities reinforced by a video converter, a screen capture, a video capture, a disc burner and a YouTube uploader
• Non-linear editing: edit several files with simultaneously
• Easy export to social networks: special profiles for YouTube, Facebook, Vimeo, Twitter and Instagram
• High quality export – no conversion quality loss, double export speed even of HD files due to hardware acceleration
• Stabilization tool will turn shaky or jittery footage into a more stable video automatically.
• Essential toolset for professional video editing: blending modes, Mask tool, advanced multiple-color Chroma Key
Part 4: Best Intro Templates for YouTube gamer [Free Intro Templates Download Sites]
If you’re using Blender, After Effects, Sony Vegas, Cinema 4D, etc, you’ll be happy to find that there are a lot of free intro templates on the Internet. Just download them, and replace the text by your channel name, no further editing skills asked. You can pick some of the best collections from here.
The newly released stock media library Filmstock effects store is a good website to download free intros and customize it based on your personalized needs.
Download Mac Version ](https://tools.techidaily.com/wondershare/filmora/download/ )
Click the image below to visit this effects store directly. If you are looking for some free items which are totally free to download and use, you can check the Free video effects, footage, music and photos .
Filmstock Stock Media Library ](https://tools.techidaily.com/wondershare/filmora/download/ )
1. Editors Depot
Editors depot has thousands of stock videos and templates with free intros available. You can download them then edit in Blender, Cinema 4D, After Effects, or Sony Vegas.
2. VideoBlocks
Videoblocks has after effect templates you can simply download and bring into Photoshop. All you need to do with these templates is insert your name and import the music, the background images and graphics are all generated.
3. Pushedtionsanity
PushedToInsanity is a site designed to provide the users with the latest and best FREE templates for Cinema 4D, After Effects, and Sony Vegas. You will find lots of Intro Templates, Outro Templates, Banner Templates, and almost everything you need for your YouTube videos. You can check their YouTube Channel to watch all the intro templates
After reading so many YouTube gaming intro makers, you may have exhausted. So we have made a simple comparison table about each intro maker, and below is the list of best online and desktop gaming intro makers that can complete the intro making the task as per your choice, pick any of these as per your needs.
You can click the platform name in the form to check the detailed intro about it directly.
| Type | Platform | Price |
|---|---|---|
| Online | Panzoid.com | Free |
| Renderfx | $24.99 to remove the watermark | |
| Renderforest | $29.99/export | |
| Ivipid.com | 1.99$ to $34.99 | |
| Moovly Studio | $5/month | |
| Introchamp | $5 per templates | |
| Intromaker | $5 to $20 | |
| Flixpress | $129.99 monthly for full libray and liftime storage | |
| Desktop | Wondershare Filmora | $59.99 lifetime |
| After Effects | $19.99/monthly | |
| Blender | Free | |
| Cinema 4D | $3510.5 |
Wondershare Filmora is an amazing intro maker for YouTube gamers, besides the various inbuilt titles, animations, filters, transitions and music library, Filmora also has some stunning editing tools to empower your creativity.
Richard Bennett
Richard Bennett is a writer and a lover of all things video.
Follow @Richard Bennett
TinyVid Masterpiece
In today’s world where businesses are going digital, it is very important to think of how you are going to get your products in front of many customers as possible without having to spend a fortune. That’s where YouTube Clip Maker comes in. It is an effective way for making YouTube videos that you can use for your business advertisements.
If you are a budding YouTuber or just looking at starting to make YouTube videos, you should consider among your editing tools a YouTube Clip Maker. It is an application that has all the tools necessary for you to edit videos in a fast and convenient way and enables you to upload the completed videos to YouTube. It is a simple tool with a friendly-to-use interface for editing videos, it should be a must-have for all users.
Part 1. Best YouTube Clip Maker Filmora
Filmora is a feature-rich audio and video editor that helps beginners with the editing of their audio and video files. The designers did their job with the armature editors in mind. It gives them a simple and easy-to-use layout that makes the work less complicated. Filmora has a built-in feature that lets you record your music and voice and also trim, merge, and cut a split your mp3 files.
Besides all the wonderful features, Filmora lets you make adjustments to speed, pitch, and volume, this makes you improve the clarity of your audio file. The app can be used to customize ringtones and specialized sound effects for your presentation.

For Win 7 or later (64-bit)
For macOS 10.12 or later
Steps on How to Use Filmora
This is an app that is best suited to those starting in video editing and requires the use of an easy-to-use app that can as well deliver quality work. Filmora is an application that was made with the armature editors in mind and is one they should consider while looking for a program to work with. It features some of the essential tools one would require and it is easy to learn how to navigate through it.
Installation Steps
- Click the icon in the center of the Media Library to add files directly.
- Go File > Import Media > Import Media Files.
- Drag and drop to the ‘media library’ directly.
When importing a media file and Filmora asks you to create a proxy file to speed up the editing process. Select “Yes” to have a fast video editing experience.
You can also import video clips using your Touch Bar controls if your computer has Touch Bar.
Record a media file
Apart from the videos shot by your digital devices, you can also directly import media files by recording video from your webcam, screen recording your computer, and a voice-over recording.
Computer screen recording:
Click the “Record” option, and choose “Record PC Screen” to get the built-in Wondershare Screen Recorder. Hit the red button to get started. To finish recording click on F9
Record videos from webcam:
Also, click the “Record” option, and choose “Record from Webcam”. In the recording pop-up window, select the red button, it will start the recording process and is also the button to choose when you want to stop recording. You will then select OK to save the recorded video clip.
Record voice-over:
Choose “Record a voiceover” on the Record menu. It would be better to connect a microphone to your Mac for a better result. Hit the Record button, and it leaves you 3 seconds to get ready.
All media files recorded are automatically saved in the “Media Library”, in case of further editing, you can drag them to the timeline.
Part 2. How to Make YouTube Clip Online
The application lets you trim your YouTube videos without having to have an account. It provides you with a quick way to either cut the beginning or end of a YouTube video. YouTube Trimmer will let you trim the video in a couple of seconds with just a few clicks. To use the app, you just need to copy and paste the earl and you are on your way to editing. You don’t have to be worried about downloading or installing the application for you to use it.
Steps on How to Use YouTube Trimmer
Step 1:
Import
Copy the YouTube link that you want to work on and paste it into the field indicated on the application.
Step 2:
Trim and Edit
You can drag the video at the edges to trim it. You can also move the playhead with your mouse and manually make cuts by clicking on the cut button.
Step 3:
Export
Once you are done editing and happy with the outcome, select the Export button to start rendering the video. Here you can choose to publish it on YouTube or save it for other uses.
Part 3. YouTube Clip Maker for Android and iPhone
KineMaster
It is a simple-to-use application that lets you create professional-quality videos in very short minutes. It enables you to edit pre-made videos or lets you make fresh ones by combining your video with several visual and sound effects. After you are done with the editing, you can save your video or share it out there.
Steps on How to Use Kinemater
Step 1:Create
It lets you import videos, audio, and images from your device. After which you can cut, rearrange, and transition between your images and videos using the KineMaster’s video layering support. This is highly dependent on your computer’s hardware capabilities.
Step 2:Edit
Adjust your video’s appearance parameters by blending color modes, adding light and sound effects, overlaying graphics, and text, or rather directly drawing on the video by using the handwriting layers.
Step 3:Share
You can export your project up to 4k and 60fps. The app saves directly to your camera’s roll besides letting you share to social media.
Part 4: Related FAQs
**How to Make a Clip from a YouTube Video ?
First, sign in to YouTube and start playing a video. Under the video click on the Clip, this will create a clip box after which you will select the part of the video that you want to clip. Give the clip a title then click share after which you will be prompted to choose an option for sharing.
**How to Clip Parts of a YouTube Video ?
Start by sign-in and opening YouTube then proceed by watching a video. If clips are available, you will see a clips icon in the bar at the bottom of the video. Click on the clip icon and select that part of the video you are interested in, give the clip a title, and select Share Clip. Choose whether you want to share the clip or save it for later use.
**What YouTubers Use to Get Clips ?
YouTubers use several video editors for their work. Some of the most popular editors are iMovie, Final Cut Pro X, and Premier Pro CC. These YouTube editing apps vary in technicalities of use and features whereby you will find that some are easy to use and have varying features. Some of the editors are free while others require payments for one to use.
For macOS 10.12 or later
Steps on How to Use Filmora
This is an app that is best suited to those starting in video editing and requires the use of an easy-to-use app that can as well deliver quality work. Filmora is an application that was made with the armature editors in mind and is one they should consider while looking for a program to work with. It features some of the essential tools one would require and it is easy to learn how to navigate through it.
Installation Steps
- Click the icon in the center of the Media Library to add files directly.
- Go File > Import Media > Import Media Files.
- Drag and drop to the ‘media library’ directly.
When importing a media file and Filmora asks you to create a proxy file to speed up the editing process. Select “Yes” to have a fast video editing experience.
You can also import video clips using your Touch Bar controls if your computer has Touch Bar.
Record a media file
Apart from the videos shot by your digital devices, you can also directly import media files by recording video from your webcam, screen recording your computer, and a voice-over recording.
Computer screen recording:
Click the “Record” option, and choose “Record PC Screen” to get the built-in Wondershare Screen Recorder. Hit the red button to get started. To finish recording click on F9
Record videos from webcam:
Also, click the “Record” option, and choose “Record from Webcam”. In the recording pop-up window, select the red button, it will start the recording process and is also the button to choose when you want to stop recording. You will then select OK to save the recorded video clip.
Record voice-over:
Choose “Record a voiceover” on the Record menu. It would be better to connect a microphone to your Mac for a better result. Hit the Record button, and it leaves you 3 seconds to get ready.
All media files recorded are automatically saved in the “Media Library”, in case of further editing, you can drag them to the timeline.
Part 2. How to Make YouTube Clip Online
The application lets you trim your YouTube videos without having to have an account. It provides you with a quick way to either cut the beginning or end of a YouTube video. YouTube Trimmer will let you trim the video in a couple of seconds with just a few clicks. To use the app, you just need to copy and paste the earl and you are on your way to editing. You don’t have to be worried about downloading or installing the application for you to use it.
Steps on How to Use YouTube Trimmer
Step 1:
Import
Copy the YouTube link that you want to work on and paste it into the field indicated on the application.
Step 2:
Trim and Edit
You can drag the video at the edges to trim it. You can also move the playhead with your mouse and manually make cuts by clicking on the cut button.
Step 3:
Export
Once you are done editing and happy with the outcome, select the Export button to start rendering the video. Here you can choose to publish it on YouTube or save it for other uses.
 CalendarBudget - Monthly subscription membership to CalendarBudget via web browser or mobile app. Support included.
 Part 3. YouTube Clip Maker for Android and iPhone
KineMaster
It is a simple-to-use application that lets you create professional-quality videos in very short minutes. It enables you to edit pre-made videos or lets you make fresh ones by combining your video with several visual and sound effects. After you are done with the editing, you can save your video or share it out there.
Steps on How to Use Kinemater
Step 1:Create
It lets you import videos, audio, and images from your device. After which you can cut, rearrange, and transition between your images and videos using the KineMaster’s video layering support. This is highly dependent on your computer’s hardware capabilities.
Step 2:Edit
Adjust your video’s appearance parameters by blending color modes, adding light and sound effects, overlaying graphics, and text, or rather directly drawing on the video by using the handwriting layers.
Step 3:Share
You can export your project up to 4k and 60fps. The app saves directly to your camera’s roll besides letting you share to social media.
Part 4: Related FAQs
**How to Make a Clip from a YouTube Video ?
First, sign in to YouTube and start playing a video. Under the video click on the Clip, this will create a clip box after which you will select the part of the video that you want to clip. Give the clip a title then click share after which you will be prompted to choose an option for sharing.
**How to Clip Parts of a YouTube Video ?
Start by sign-in and opening YouTube then proceed by watching a video. If clips are available, you will see a clips icon in the bar at the bottom of the video. Click on the clip icon and select that part of the video you are interested in, give the clip a title, and select Share Clip. Choose whether you want to share the clip or save it for later use.
**What YouTubers Use to Get Clips ?
YouTubers use several video editors for their work. Some of the most popular editors are iMovie, Final Cut Pro X, and Premier Pro CC. These YouTube editing apps vary in technicalities of use and features whereby you will find that some are easy to use and have varying features. Some of the editors are free while others require payments for one to use.
- Title: [New] In 2024, Eye-Opening List of the Top 12 YT Gamers' Intros (Free/Paid Sessions)
- Author: Kenneth
- Created at : 2024-07-31 21:49:16
- Updated at : 2024-08-01 21:49:16
- Link: https://facebook-video-footage.techidaily.com/new-in-2024-eye-opening-list-of-the-top-12-yt-gamers-intros-freepaid-sessions/
- License: This work is licensed under CC BY-NC-SA 4.0.